Click Tools tab Options panel Links on the ribbon to access this dialog box. Then clipboard the image into the box and pull-to-fit the corners of the image to fit inside.
Cad Forum How To Insert Framed Boxed Text Into Inventor Drawings
The Import Options menu pops up if there were multiple layers in the imported drawing you can select which of the layers you want to bring across.
. This launches Paint to edit an image that is embedded inside AutoCAD. For Symbols or other general images in drawings you have to be in a Sketch mode first and then use the above technique to place it in. A window to browse and locate your image will open.
Edit your TB then in the Sketch Tab choose Insert Image and uncheck the Link box before placing it. Follow Insert References panel Attach Find. Open AutoCAD and open a new file.
In the Open dialog box browse to the folder where the image file is located and then click Open. In the Image dialog box you can specify insertion point scale or rotation and click OK. This will help with surface modelling and also working from a sketch to help you create the model you want from image references.
This is how you would insert images in to Auto desk Inventor. Generally this method will give you this dialog box. Step 2.
Autocad Drawing Aids - 17 images - autocad tutorials introduction to isometric drafting in digital drawing for designers a visual guide to autocad autocad and its applications basics 2019 26th edition page 4 process and control today free access to component cad. Process 1 Step 1. Then just pray that the next time you open the IDW the unconstrained parts of the views dont just float away.
Browse your computer and find the drawing you want to insert. A window similar to the image below will open. Select your image and click ok.
Exit from Paint and return to AutoCAD. Remember the Link box is checked 100 of the time and you need to. Simply click the OK button to close.
Use CTRLC or the Copy button to place the partial image or whole image to the internal clipboard. Type command IMAGE on the Auto CAD command box and then press Enter. In the Insert Object dialog box choose the options to achieve the desired result.
Then press on the DWG folder appearing on. Click Insert tab References panel Attach. Go to your Model Tree of your DRAWING idw 2.
Attach Image Permanently Autodesk Community. You are prompted to pick on a location or two corners to define the placement of an image. This would fix your AutoCAD JPEG import issues.
A Dialogue box will appear on the. In the Open file dialog box once your file is selected be sure to un-check the box that says LINK. Answered on 5 Jun 2013 0859 PM Answer as a tutorial.
On the Insert Object window click Create New. Click the drawing sketch. Click in the graphics window to.
Now go back to AutoCAD and simply Paste or CTRL V keyboard command to paste the image into AutoCAD as an embedded OLE object. Images can only be placed into sketch mode Select Image from the Insert panel of the Sketch tab on the Ribbon. Run the INSERTOBJ command or click the OLE Object icon located on the Insert tab - Data panel Choose Create New then choose Paintbrush Picture Or Bitmap Image Next Windows Paintbrush should open up In Paintbrush choose the Edit menu then PasteFrom located in the top left corner of Paint use the drop down on the Paste icon.
You can edit the size of your image with the use of dimensions and also constrain your image to the centre point with the use of constraints. Select Paintbursh Picture as the Object Type and click OK. This is were you will navigate to your reference image on your computer and insert it in to the plane you have selected.
The best you could do with Inventor is to draw an empty box border in the sketch attaching all relevant notations to this box. Select the ACAD on the Insert Panel. The process starts in an Inventor Sketch.
Insert Image in AutoCAD 7. If you run into the same problem at least check this out. Click on the image icon at top right hand side of your ribbon.
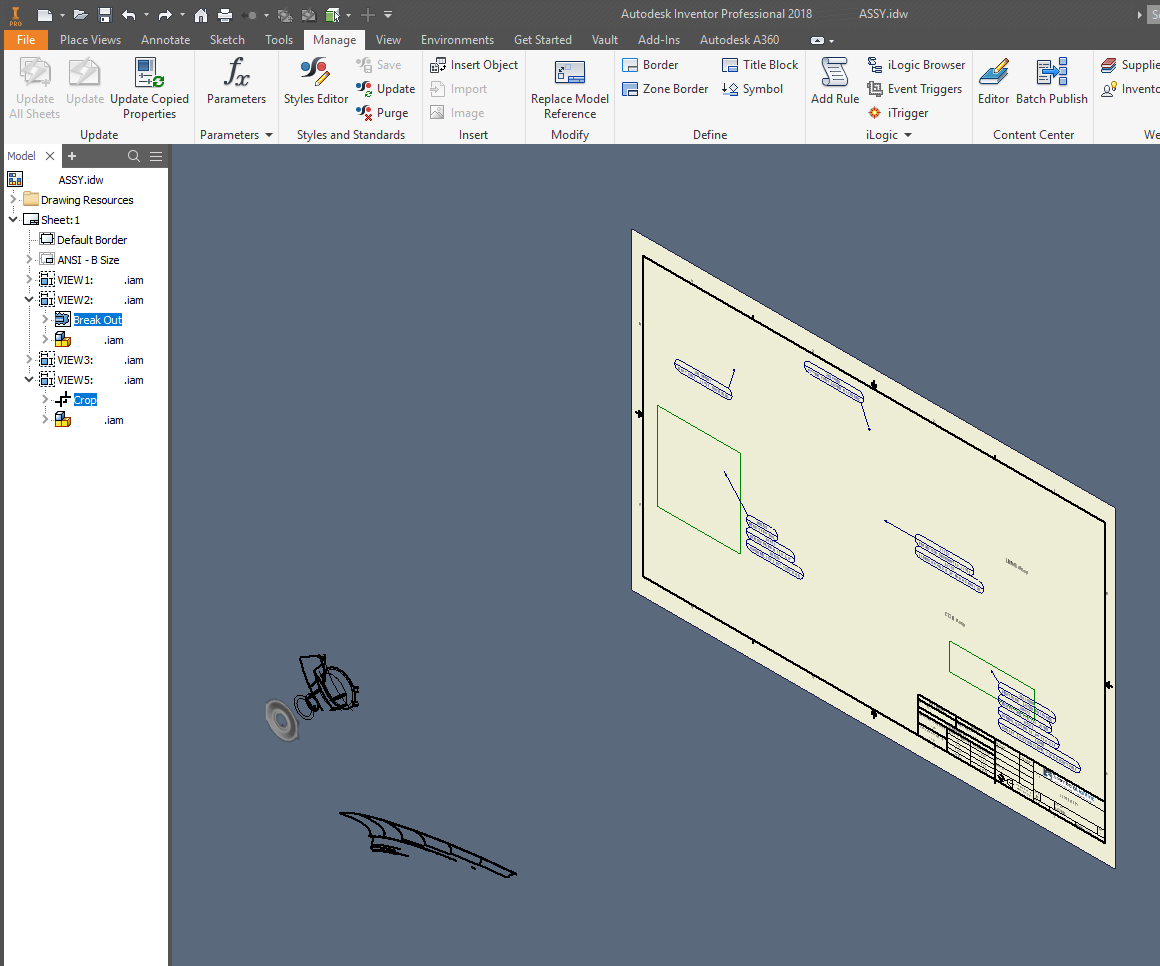
I have my Inventor application open and I am working on the first sketch of my part. Find your ASSEMBLY iam of that drawing view. Learn inventor basic tutorial for beginner how to insert image in drawing fast and easyinventorhowtoinsertimage.
Start in a drawing sketch. Enter the command INSERTOBJ. We attempt to introduced in this posting back this may be one of fantastic insinuation for any Autocad Commands In Drawing Area options.
Find the component in the assembly that is NOT showing up. Browse for the image file to be inserted. Select Sketch off the Sketch Panel then the Surface or Plane you are going to use.
That will create an embedding. How to attach image in autocad permanently. In the Select Image File dialog box select a file name from the.
You can link the image to the part file but in this case I will clear this default option and embed the image. Click ok and place the image where you want by clicking on your autoCAD working area. We understand this kind of Autocad Commands In Drawing Area graphic could possibly be the most trending topic taking into account we part it in google improvement or facebook.
We take this kind of Autocad Drawing Aids graphic could possibly be the. The Select Image File dialog box appears select image file and click Open. Søg efter jobs der relaterer sig til Autodesk inventor insert image into drawing eller ansæt på verdens største freelance-markedsplads med 21m jobs.
Click Insert and then select Insert Image. In Paint choose the Paste From command and browse to select the source image file. Open the AutoCAD software by clicking on the AutoCAD icon provided as a shortcut on your windows.
The cursor is attached to the upper left corner of the image. Type IMAGEATTACH command Type IMAGEATTACH command in AutoCAD 5. Place the image in the drawing.
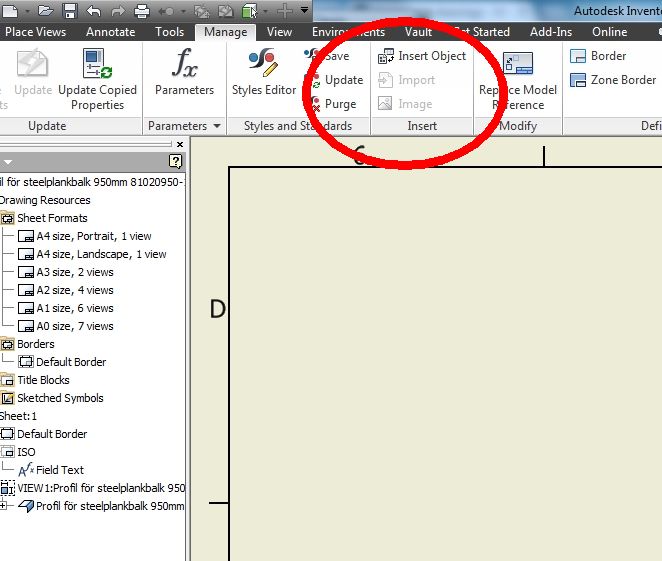
I will use the Image command to select and insert the desired digital image. On the ribbon click Manage tab Insert panel Insert Object. Can you bind a JPG in AutoCAD.
To create a file select the object type and select Create New. Step 3. Make sure that Include All Surfaces is.
Inventor Part Bad Body Causes Drawing Idw Errors Search Autodesk Knowledge Network

Inventor 2019 Motor Cover Assembly Drawing Youtube

How To Leverage Inventor Drawings In Autocad Autocad Autodesk Knowledge Network

Autodesk Inventor 2d Sketch Create Cfd Ninja

Inventor Exact Positioning Of Section Line In The Idw Source View For Section View Inventor 2018 Autodesk Knowledge Network
Solved Inserting Images Into Idw Drawings Autodesk Community Inventor

Applied Software Adding An Image To Your Inventor Title Block

Inventor How To Insert Image In Drawing Youtube
0 comments
Post a Comment